One of the most powerful features of any SwiftModders Blesta Theme is that you can customize many different aspects of your theme. The Allure Blesta Client Theme is no different and offers many ways to make your installation unique to your brand. This guide will walk you through the various settings you can customize.
Editing the General Settings
These settings are general theme options that will impact multiple areas of the theme. Of course, some will have more impact than others, but this is the first step in making your theme unique.

Header Options
- Header Date Format – The theme header displays the date in the format you provided. It’s important that you follow the PHP date formatting.
Style Options
- Rounded Edges – When enabled, the theme will apply rounded edges to a number of elements throughout the theme. You can also set the base, small, and large variants. When disabled, all rounded edges will be removed.
- Shadows – Enable or disable the user of box-shadow throughout the theme. This provides depth to the theme, but if you’re going for a flat look, disabling this option will help.
Global Options
- Use Local jQuery – When enabled, the theme will use the locally hosted version of jQuery.
- Gravatar Support – Enable or disable Gravatar images throughout the theme. Keep in mind that Gravatars are not used everywhere on the theme.
- RTL Support – The theme, by default, will reverse orientation on specific languages that support right-to-left (RTL) formatting. Disabling this option will stop that from happening.
- Preloader Animation – When enabled, an animation sequence will be displayed while the page fully loads. If disabled, the page will be shown immediately. This is recommended for slower servers.
Dark Theme Options
- Dark Theme – When enabled, your clients will have access to the dark version of this theme.
- Light Switch – When enabled, an option will be displayed near the navigation menu that allows your clients to turn the lights on or off. If disabled, this option will not appear.
- Default to Dark Theme – When enabled, the dark theme will be the default look for any new clients. This will not impact anyone who has already changed their light switch preference.
Footer Options
- SwiftModders Footer Copyright – When enabled, a link will be displayed in the footer that promotes SwiftModders. This is not required, but it does help us grow! We appreciate you keeping this on.
- Affiliates URL – You add your Affiliates Program URL to the “SwiftModders Footer Copyright” option to earn 25% on each referred sale.
Adding your company logo
Most organizations will want to use their company branding on the theme instead of the default SwiftModders logo. We highly recommend giving your site a better professional feel and avoiding branding confusion when your customers need product support. Let’s walk through the best way to change this.

- Logo Support – When enabled, you can adjust the various logo formats supported throughout the theme. If disabled, a text version of your company name will be used.
- Color Logo – The colorized version of your full logo.
- Color Logo Icon – The colorized icon version of your logo.
- White Logo – The knockout white version of your full logo.
- White Logo Icon – The knockout white icon version of the logo.
Editing the theme typography
The theme supports Google Fonts and allows you to choose different font families for different text formats.

- Enable Google Fonts – The theme will leverage the Google Fonts API to apply your desired font families. If disabled, you must set a custom Font CDN URL or use local web fonts.
- Font CDN URL – When Google Fonts is disabled, and this option is set, the provided CDN will be used.
Font Styles
- Font Family – This is the base font family used on all elements throughout the theme.
- Heading Font Family – This is the font family used on all heading elements like (h1, h2, h3, h4, h5. h6).
Font Weights
- Font Weight – This is the base font weight used on all elements throughout the theme.
- Heading Font Weight – This is the font weight used on all heading elements like (h1, h2, h3, h4, h5, h6).
Font Sizes
- Base Font Size – This is the base font size used throughout the theme to generate relative sizes for other elements. By default, this is set to 16. We recommend leaving this option alone, but you can adjust it to 14 if a smaller font size is needed.
Editing the theme colors
By default, the theme will use the SwiftModders website’s branding colors. While we enjoy those colors, you might not! If your company or organization features its color palette, this section will be the best place to display it.

As you can see, the theme has many color options you can change to make your installation unique quickly. The “Brand Colors” are the primary colors used throughout the theme. The “Theme Colors” are default color sets that Blesta uses throughout various areas of the theme. We recommend keeping these colors in the same family as described. The “Gray Colors” are shades of gray that scale from lightest to darkest. You should always keep the scale as close to the default as possible. You may end up with legibility issues on your theme otherwise. Lastly, the “Additional Colors” features the “Login Overlay Color” used on the login page. It is a semi-transparent gray by default, but you can change it as you see fit using the color picker.
Editing the theme layout
In addition to editing essential branding elements of your theme installation, you can also edit general layout settings to help make your installation feel more unique! Let’s walk through the various options available to you.

Header Options
- Sticky Header – When enabled, the header will follow you on scroll and stay fixed to the top of the browser.
- Header Style – Select between “Dark” and “Light.” This setting will be overwritten when the “Dark Theme” is enabled.
Global Options
- Container Max Width – This is the maximum pixels width for your content containers. We recommend leaving this alone if you’re unsure what it will do.
Login Options
- Login Style – You can select between the “Split” and “Classic” login template styles. Split is a little more modern, with the login form and image directly next to each other. Classic will have the login image in the background with the login form on top and in the middle of the page.
- Login Background Image – This is the background image displayed on the login template.
Menu Options
- Menu Location – You can change the location of the menu between the “Side” and “Top.”
- Minimize Menu by Default – If the “Menu Location” is set to “Side,” you can enable this option to minimize the side menu by default.
- Menu Style – Select between “Dark” and “Light.” This setting will be overwritten when the “Dark Theme” is enabled.
Ticket Options
- Ticket Style – You can select between the “Conversation” and “Classic” ticket template styles. “Conversation” will display a more modern texting-style layout for ticket conversations, while the “Classic” look is more traditional.
Setting up your theme favicon
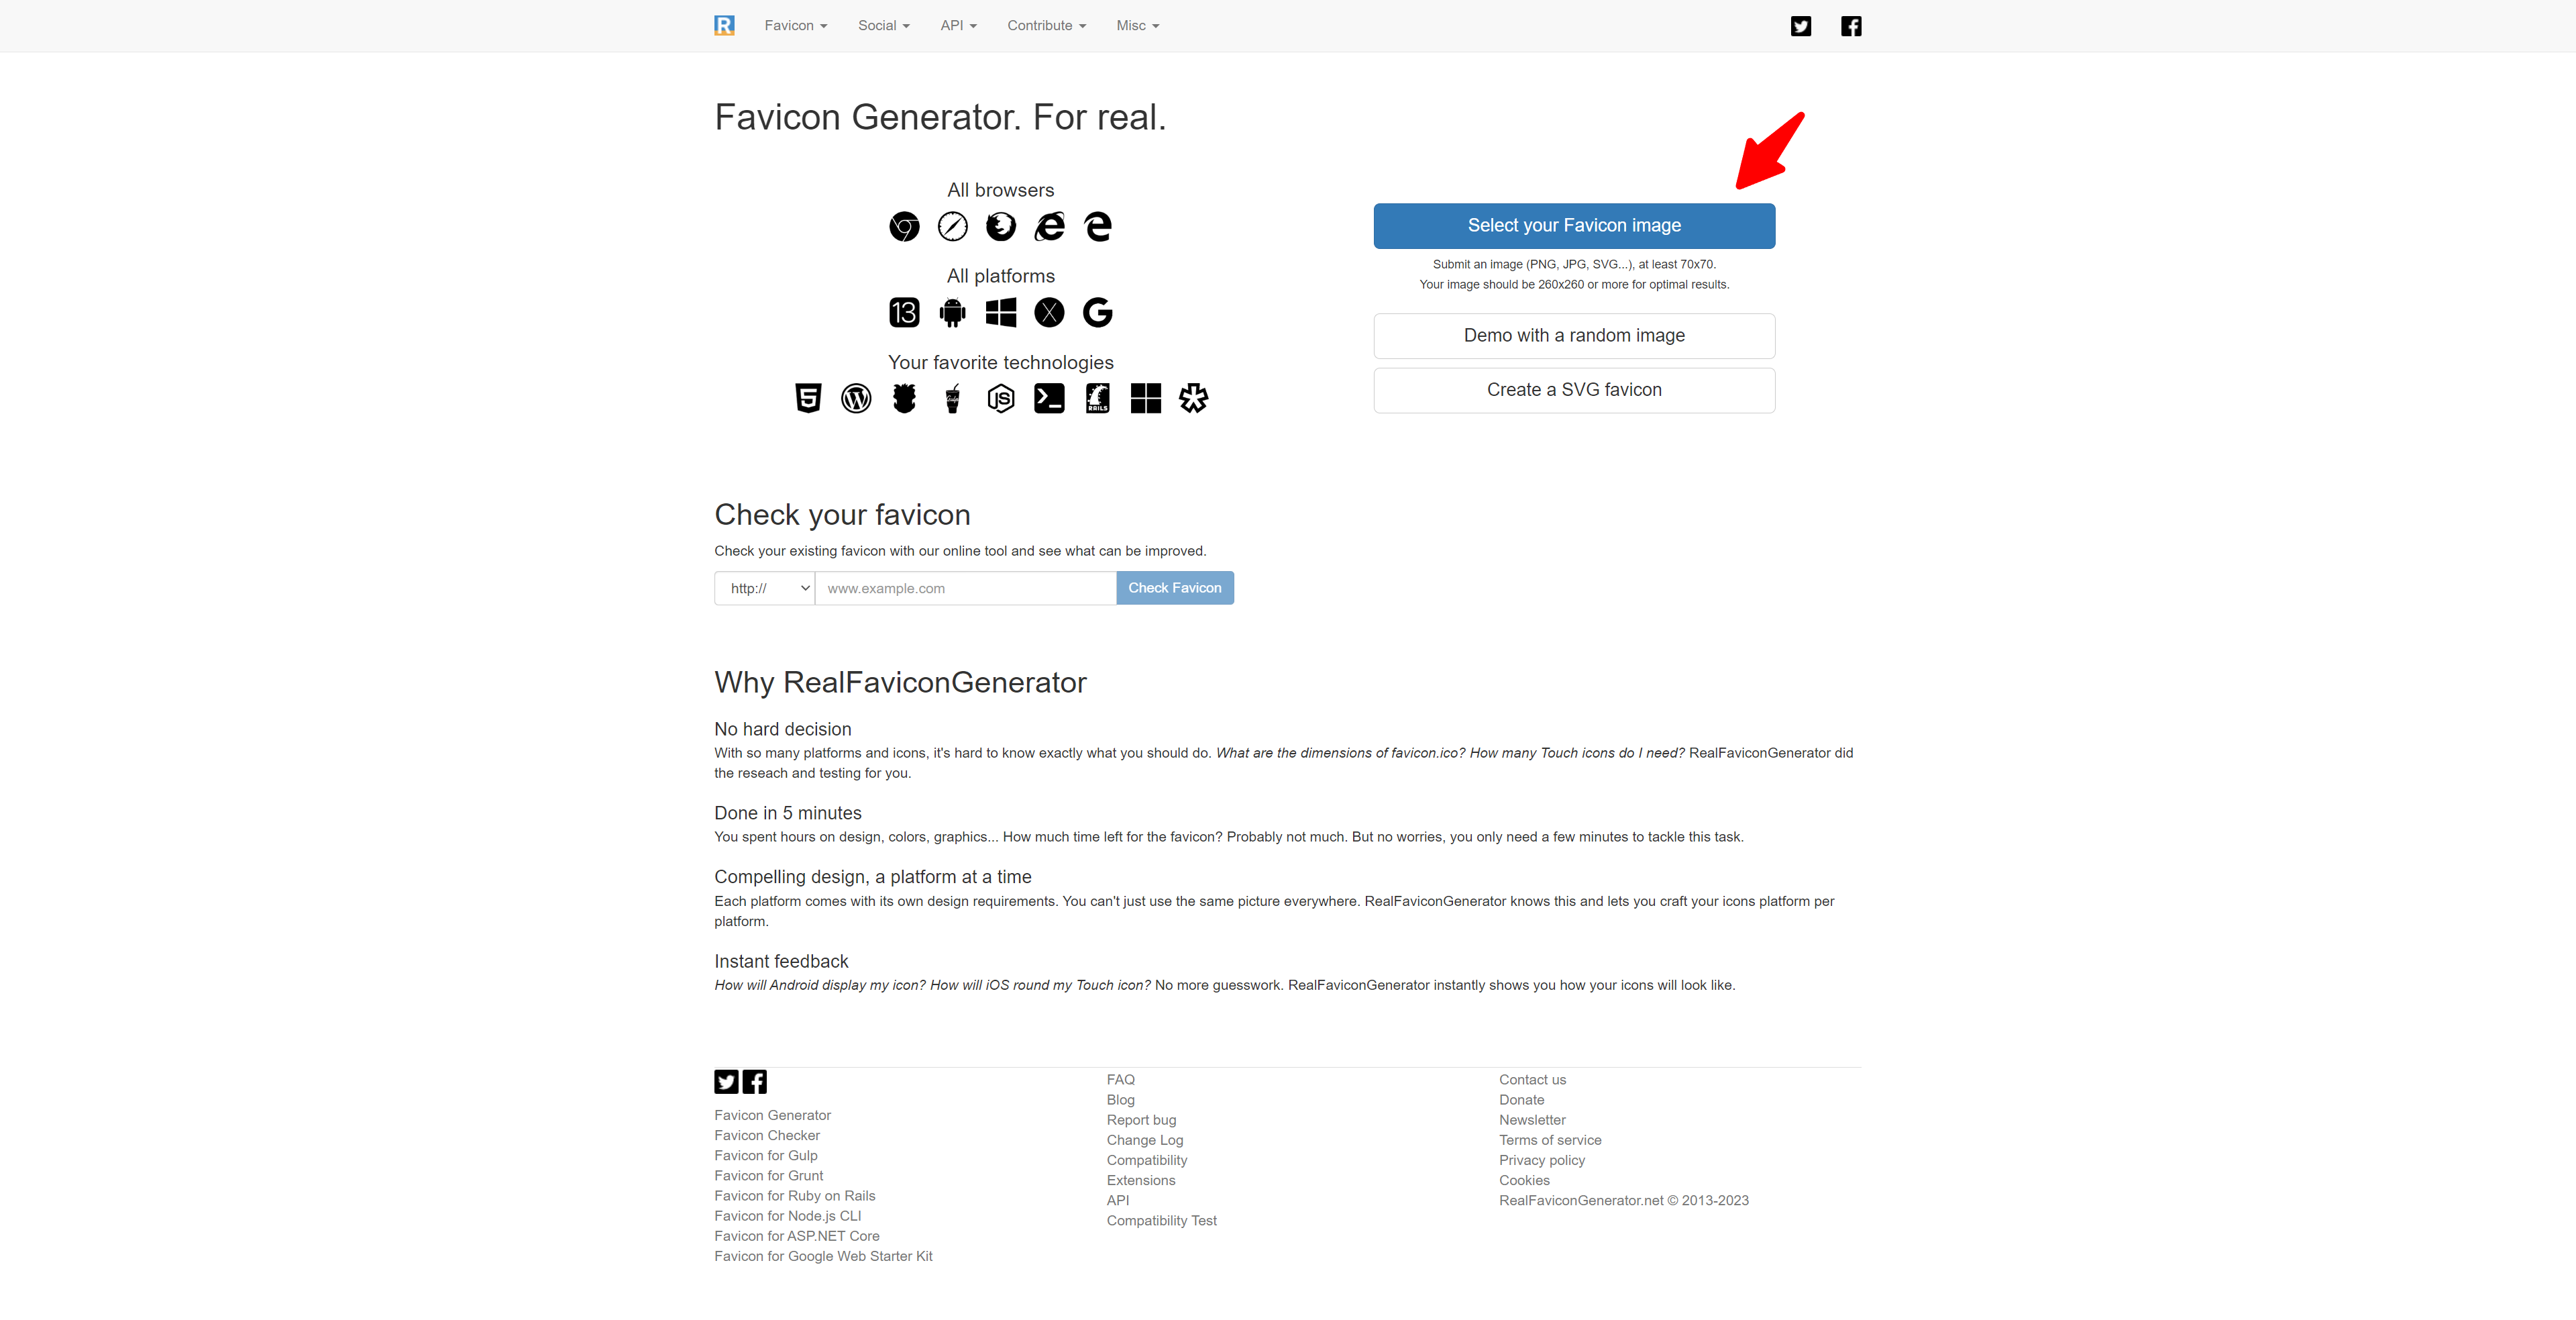
The theme features support for your favicon icon, powered by RealFaviconGenerator. Real Favicon Generator (RFG) will do most of the work for you; you only need a large (min. 70×70) square version of your Favicon. To get started, you will head to the RFG site and click on “Select Your Favicon Image.” Once your image has been uploaded to RFG, it might stop you from saying your image is not square. If so, click to continue, but if you would like, you can cancel and make it square using your favorite image editor.
You will see several preview images to adjust and modify your needs based on your image. We will not go through all of these, but you can use the sliders provided by RFG to make your adjustments as needed. Once you’re done and feel comfortable with your selected settings, you will click the “Generate your Favicons and HTML code” button to finalize everything.
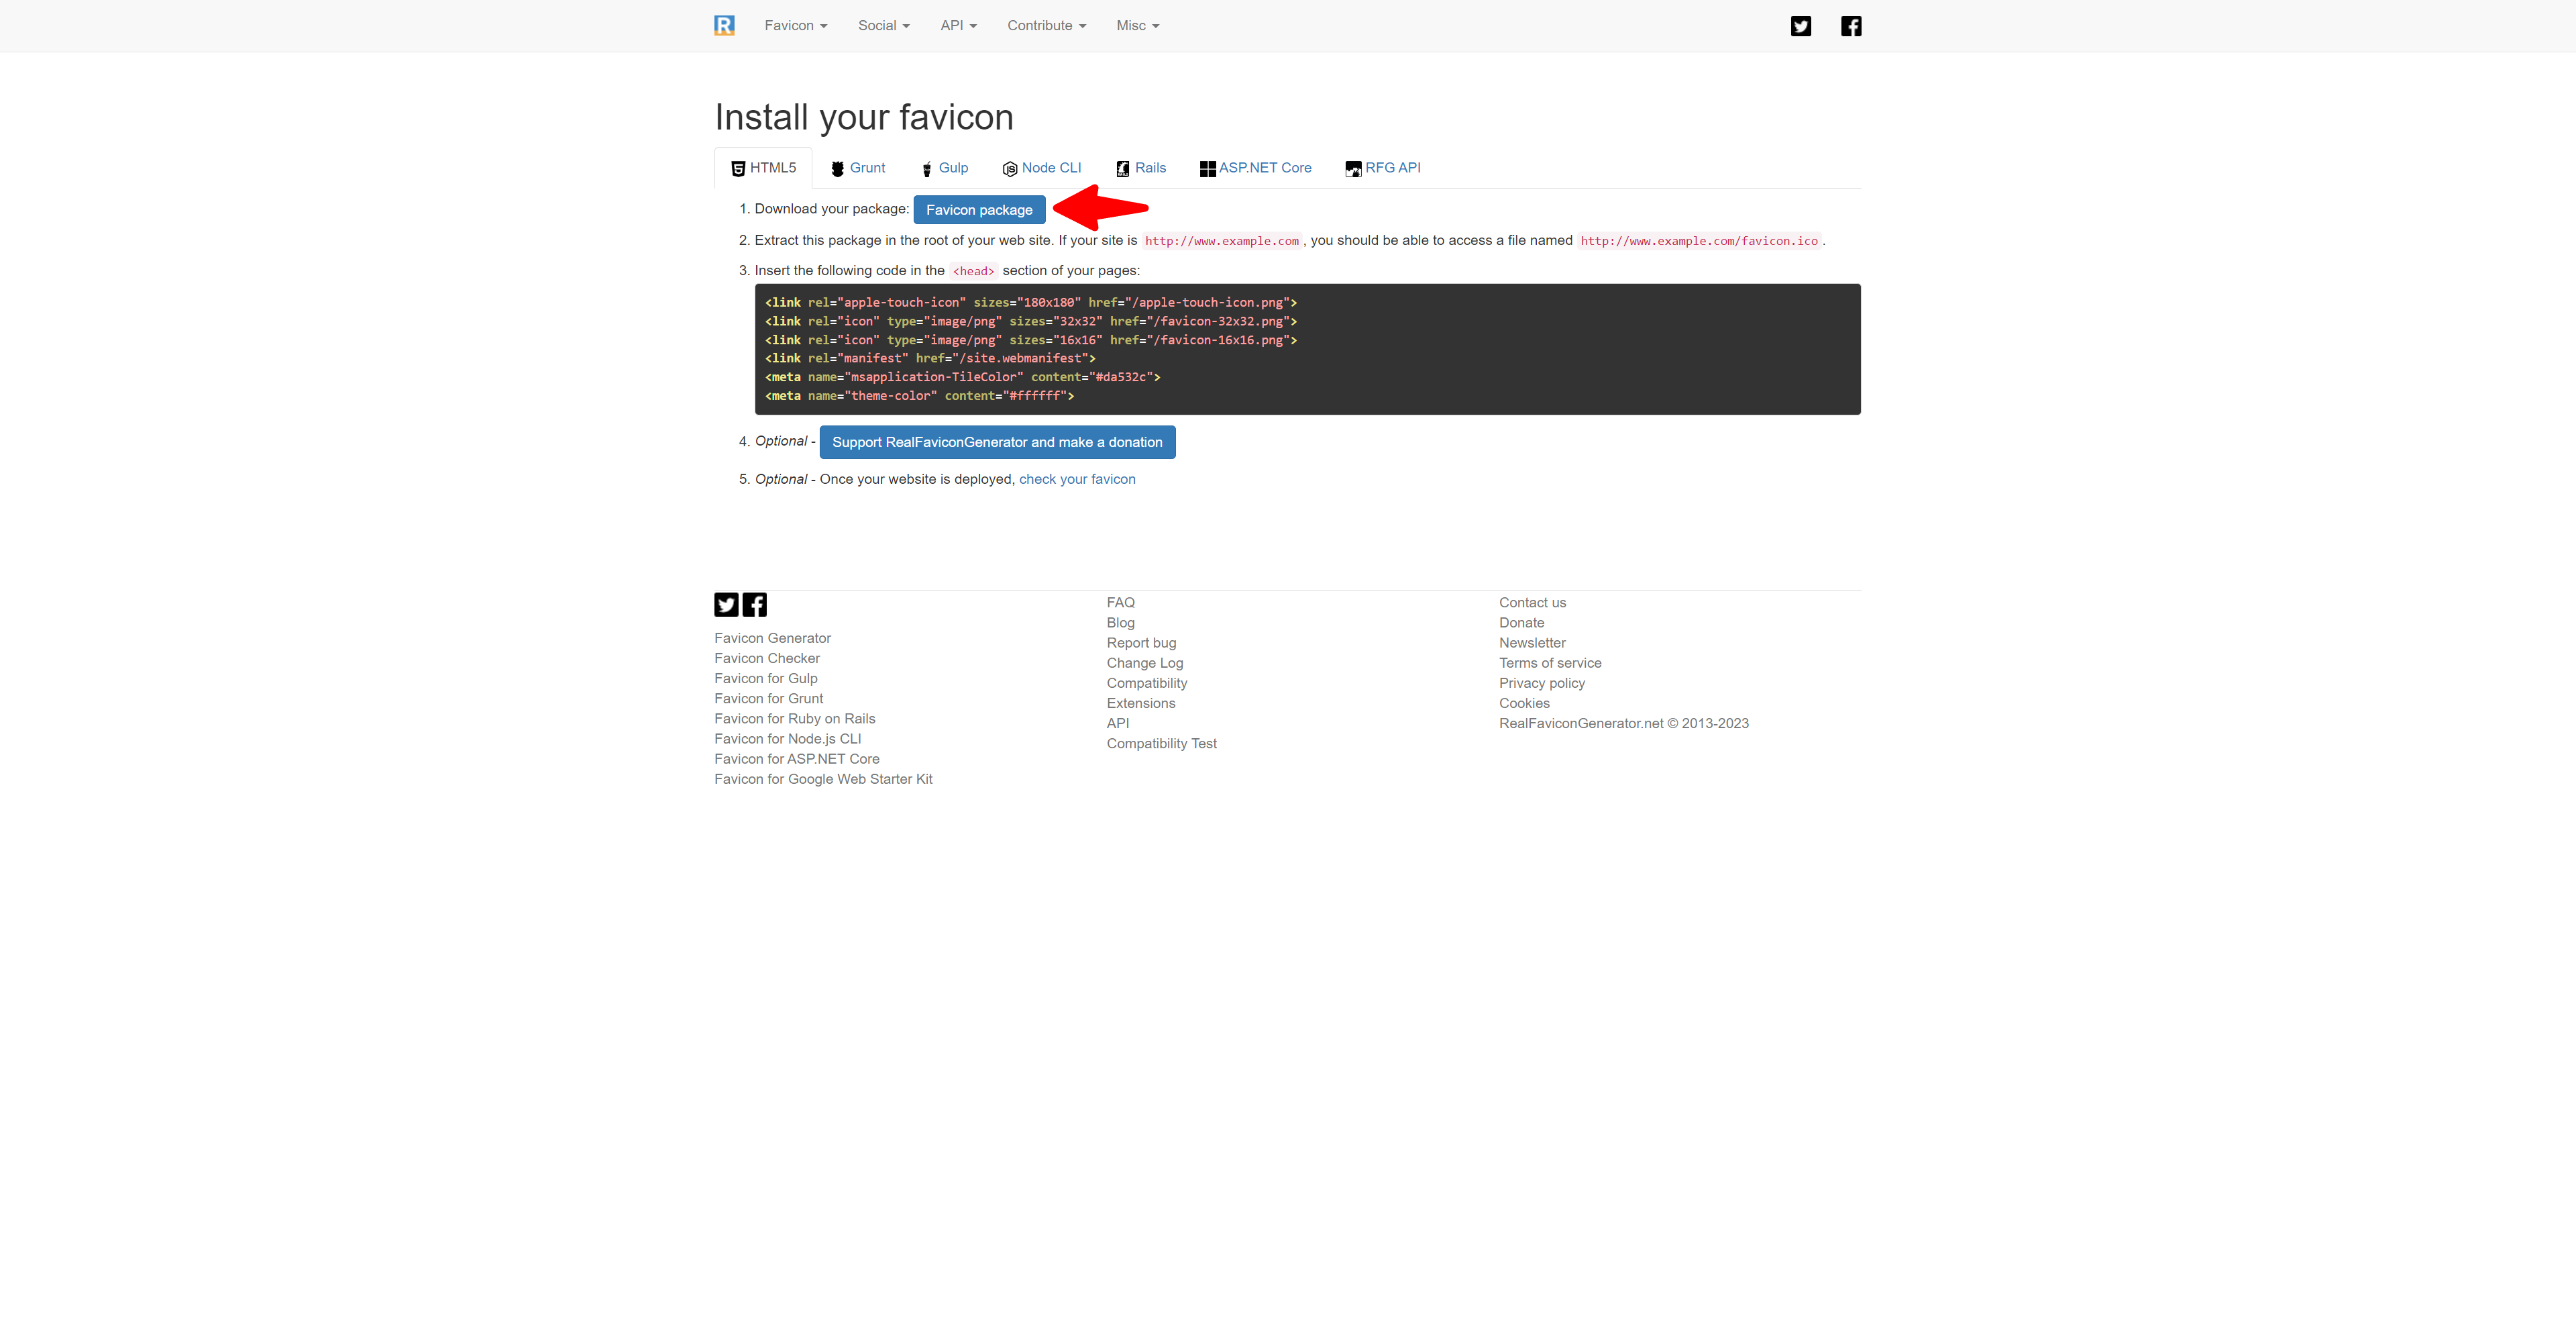
It may take RFG a few minutes to prepare your download package, but once completed, you will see the “Favicon package” button next to “Download your package.” This will be all you need from this page, and you can download the favicon package to your local machine. Next, unzip the Favicon package on your local machine and upload the contents to the folder path in the “Favicon” tab of your theme settings. You will replace the default files in the “favicon” folder with those you generated in the steps above. Once uploaded, you’ll be all set!
Changing the Favicon Folder (Recommended)

You can set a custom favicon folder for the Allure Blesta Theme. In the “Favicon” tab, enter a custom folder name for your favicon files and save your settings. The theme will automatically pull the favicon data from this new location. Before changing, make sure that the folder exists.
Editing the menu icons
The theme has a menu icon manager to set FontAwesome 5 icons to your menu items. Follow our SwiftModders Blesta Theme Installer customization guide to enable Font Awesome Pro icons.

You have the option, if you like, to disable the menu icons altogether. Please note that you will want to use the “Top” style “Menu Location” in “Layout” if that is the case. Without the icons, the “Side” menu’s minified version will be broken with no link indicator. Those who wish to continue using the menu icons can easily edit the icons for the default menu items present in Blesta. The “Delete” button will remove the item from the list, so be careful not to delete a default menu item unless you’ve removed the navigation from your site.
Adding your own custom CSS/SCSS
For those who are a little more advanced and clearly understand how to use CSS or SASS/SCSS syntax, you can use the “Custom CSS” tab to insert your CSS into the theme directly. This is especially helpful for areas of the theme I do not provide an easy way to edit. However, be careful; adding incorrect CSS or SCSS syntax can break the CSS compilation library and result in your changes not being saved.

The Theme Installer provides an easy-to-use WYSIWYG that should help make the editing process simpler. However, your changes will generate an error if you make a mistake. Do not forget to consider any changes that impact the different devices and screen resolutions.
Congrats! You’ve completed the guide on customizing your theme! We hope this was helpful and provides greater insight into this theme’s power. As always, if you have any issues during the installation process, please be sure to open a support request.
If you want something more custom, do not forget to check out our Blesta Custom Theme Development service.