1. Install the SwiftModders WHMCS Theme Installer
Before installing the Allure WHMCS Client Theme, you must install the SwiftModders WHMCS Theme Installer. The Theme Installer handles the licensing checks and activation of the theme. Please follow the guide linked above to get started.
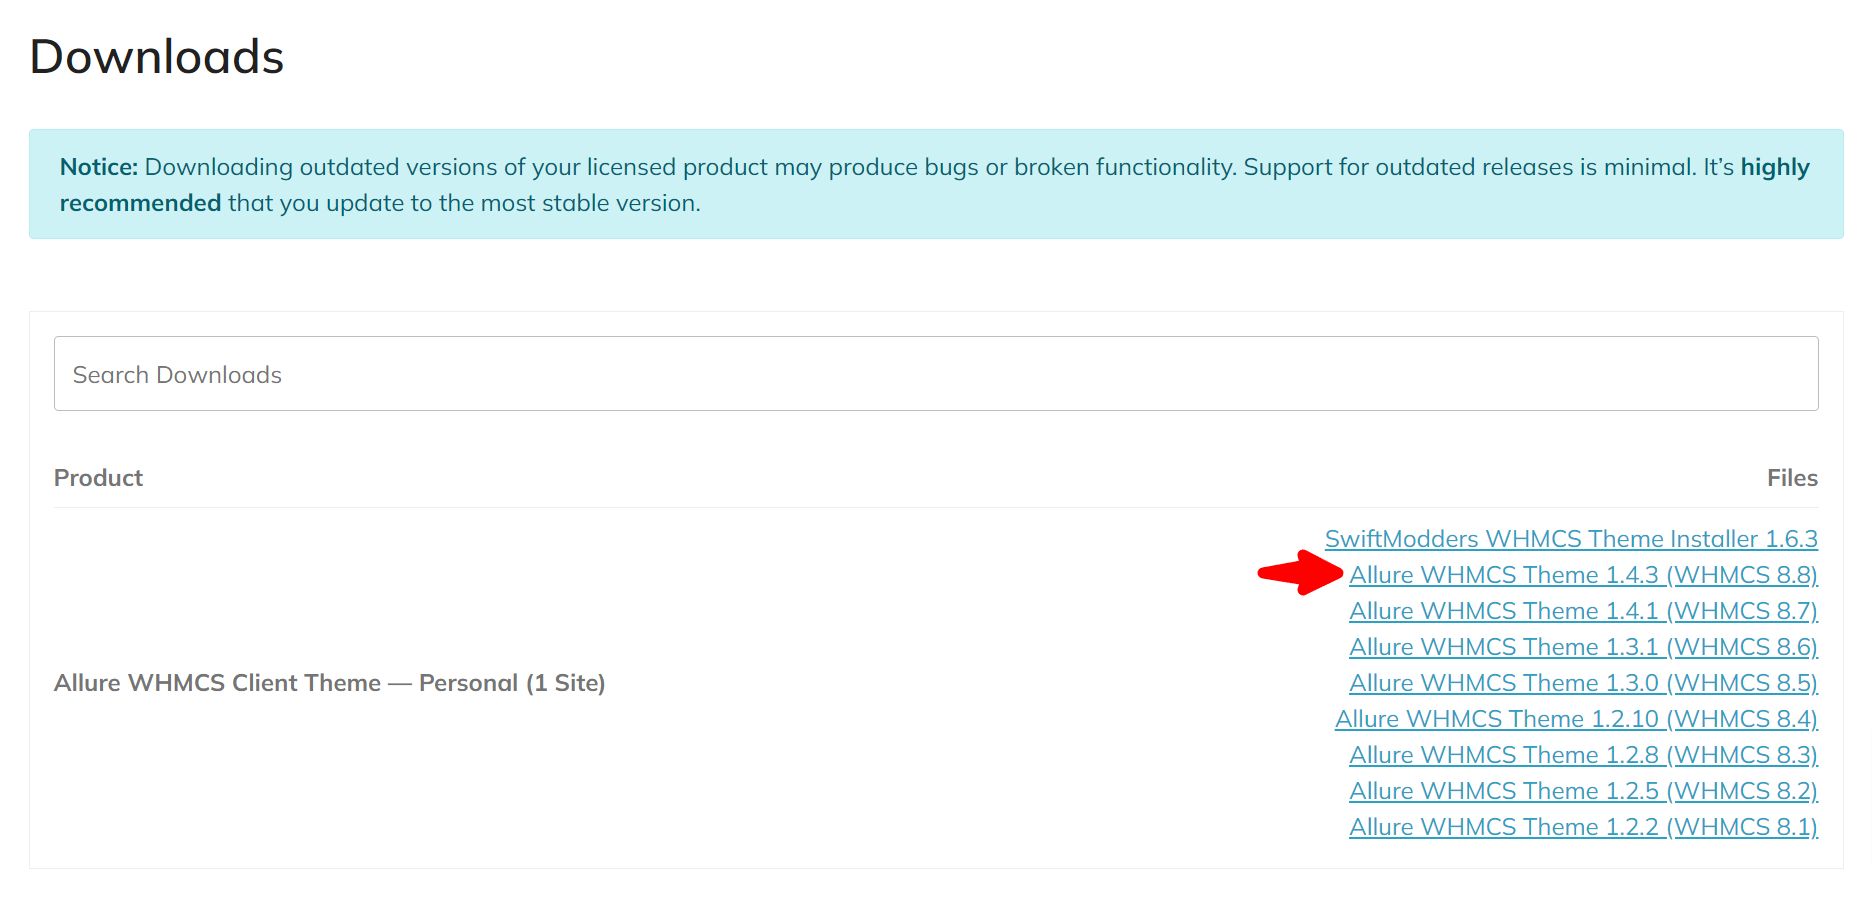
2. Download the latest version of the theme
Now that the Theme Installer has been installed, you’re prepped and ready to install the theme. Log into your account and navigate to the Downloads page (“My Services”> “Downloads”). You should see a list of all your theme purchases and click the download link.
3. Copy your theme license key
While in your account section, you will also need to grab your license key. This will come in handy later after we’ve installed the theme! Visit the Licenses page (“My Services”> “Licenses”) to view all of your available license keys.
Once loaded, you will see a list of all your products and their license keys. Locate the license key for your theme and copy the text. Save the key somewhere secure for use later!
4. Unzip the download to your local machine
After downloading the Theme Installer, unzip the compressed file onto your local machine. You can use many different tools to handle this, and both Windows and Macs have built-in uncompression tools. For more information on how to unzip a file, please read this tutorial on WikiHow.
5. Upload the files to your WHMCS installation
Once your ZIP file has been extracted, you can upload the theme files to your WHMCS installation. Using your favorite FTP client is the best way to do this.
In the extracted ZIP, look for the “upload” folder. Upload the contents of the “upload” directory, not the folder itself, to the root directory of your WHMCS installation (only the contents of the “upload” directory). This will add the necessary theme files into the appropriate folders so that the Theme Installer will recognize the theme is available for installation.
6. Access the Theme Installer and install the theme
Once your upload has been completed, you will need to log in to your WHMCS admin portal and navigate to “Addons”> “SwiftModders WHMCS Theme Installer.” You should see the theme you downloaded available in the module and an “Install” option present. If you do not see this option, make sure you have uploaded the theme folder to the correct location. If you continue to have problems, please open a support request.

Click the “Install” button, and the process will start immediately. The installer will add a table to the WHMCS MySQL database that houses your customization settings. Once completed, you will be presented with a success message. Now we will need to activate your license.
7. Activate your theme license
To begin the activation process, you will need to click on the “Edit Settings” button. Once loaded, you will see a form requesting your license key. In step 3, you copied that license key, so let’s use that to input into the form here and click “Save.” If your activation is successful, you will see the settings for your Allure WHMCS Theme installation. If your license does not activate, please ensure you did not copy in additional spaces. If that is not the issue, please open a support request.
8. Check your installation for health issues
One of the new features of the SwiftModders WHMCS Theme Installer is checking for health issues. These issues involve:
- Permission issues with files necessary to save your customizations
- An incorrect WHMCS theme in use
- An incompatible order form template in use
- Missing cache files for the SCSS compiler system
You will likely see health warnings for using the incorrect theme and unsupported order form. This will be addressed in the next step. If you have permissions issues with any files requiring write access, please use your FTP client or control panel file manager to adjust your files’ write permissions.
9. Change your template and order form template settings
Once you have fixed any issues with the health of your theme installations, the last step will involve changing your WHMCS settings to use the appropriate templates. Head to your WHMCS admin portal and navigate to “Setup”> “General Settings.” You will see an option called “Template,” In the dropdown, select “Allure.”

Next, click the “Ordering” tab on this page and select one of the “Allure” compatible order form templates.

Congratulations, your theme installation is now complete! If you have any issues during the installation process, please open a support request.